Use VSS with TP-Link Kasa IP cameras for Cloud Recording, Backup, Monitoring and Playback
Contents
Introduction
Step 1: Check If The Camera Supports RTSP and Enable It
Step 2. Use CameraFTP VSS with TP-Link Kasa IP Cameras
Appendix 1: Make Changes; CameraFTP Viewer
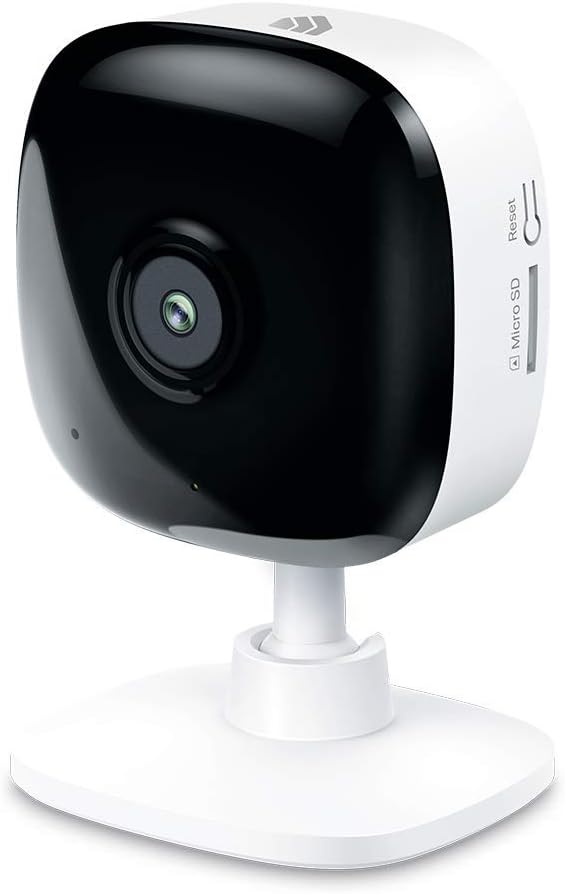
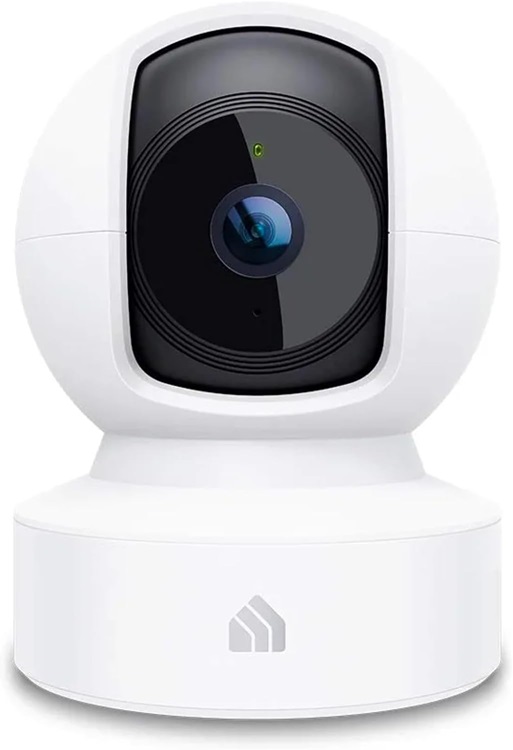
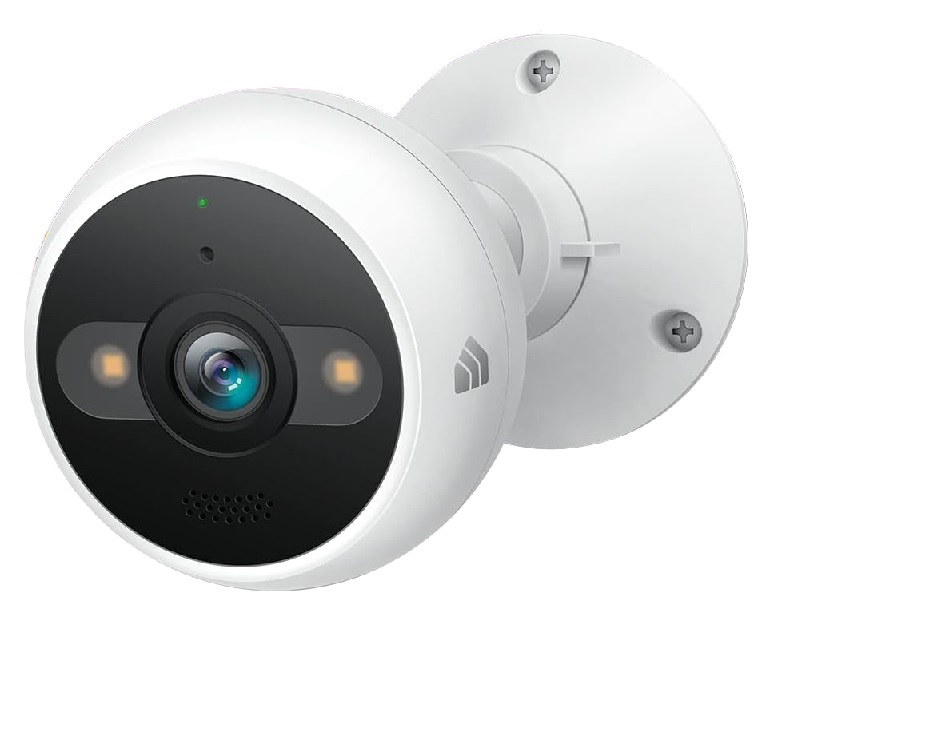
TP-Link has several very popular IP camera models in the Kasa series.
Most of TP-Link Kasa IP cameras support FTP/SMTP based uploading. They also support ONVIF and RTSP.
If a camera supports RTSP, then it is compatible with CameraFTP VSS software. Otherwise, it is not directly compatible.
You can visit this support page for the detailed information about
how to use CameraFTP VSS software with proprietary IP cameras.


TP-Link Kasa IP Cameras
Why use CameraFTP VSS with TP-Link Kasa cameras?
CameraFTP is a leading cloud recording service provider based in Silicon Valley.
It has offered very broad cloud recording and monitoring features for over a decade.
CameraFTP offers the most flexible service plans, including: Video Recording, Image Recording,
Timelapse Recording and Local Recording plans.
Users can customize a plan based on their budget and quality requirements.
Most TP-Link Kasa IP cameras support FTP/SMTP and can upload footage to the CameraFTP cloud directly.
You need to check if the camera supports ONVIF and RTSP. If so, CameraFTP VSS software can connect to the camera's video stream,
display live video
on the PC screen, while recording footage to the cloud and/or local disk. It works like a powerful
CCTV NVR system, offering much better video recording options.
It supports popular video resolutions like 720P and 1080P; it also supports frame rates from 1 to 20fps.
Disclaimer: The information provided in this document is
based on our knowledge of the TP-Link Kasa IP Cameras.
The information may not be accurate or up-to-date. Users shall contact the
manufacturer for all camera-related issues and contact us for
CameraFTP-related (CameraFTP cloud service / CameraFTP VSS) issues.
If you find any information to be incorrect, please report it to CameraFTP support and we will update the documents promptly,
The TP-Link Kasa IP camera can only be configured with a smartphone. You need to download the "TP-Link" mobile app for Android or iOS. After you
install the mobile app, follow the instructions in the app (or the product manual) to add the camera to the app.
You can then check in the app to find if it supports RTSP.
If yes, you can find the RTSP video stream URL.
You also need a PC/laptop connected to the same local network. Install CameraFTP VSS on the computer.
CameraFTP VSS software
can use a PC as a powerful CCTV NVR system. It can display live camera videos on your PC screen, while
also recording the video/image to the cloud and/or the local disk.
If your TP-Link Kasa IP camera supports RTSP, and you have the RTSP URL, then it is
very easy to add the camera to CameraFTP VSS.
If you have an old or spare PC, you can save the cost of buying an expensive NVR; otherwise, you can
buy a low-end laptop/PC for less than $300. It can support many IP cameras and webcams.
Launch CameraFTP VSS software on your PC/laptop, click Add to add a camera, then click IP Camera.
Then click "Find IP Cameras in Local Network" to
find IP cameras in your local network.
As you can see, VSS displays a list of devices/cameras found in your local network.
The displayed camera names may not be clear, as shown in
the above screenshot. If VSS found multiple cameras/devices and you cannot tell which one is the correct IP camera,
you can use the following method: (1) turn off the camera, then use VSS to search the local network; record the
device list; (2) turn on the camera, use VSS to search the local network again. The new device in the search result
is the correct camera.
Select the correct TP-Link Kasa IP camera, then click Next.
CameraFTP VSS will display a login dialog. Please enter the device's Local Account username and password to log in.
Click Next.
CameraFTP VSS will search the camera's video stream URLs, and display a list of video streaming URLs:
You can select a video stream and click Next.
Note: If VSS cannot find the video stream URL,
you can click "Add Camera Streaming URL Directly", then copy and paste the RTSP URL
generated in Step 1.
The remaining steps are standard. Just click Next and follow the wizard to finish adding the camera. The camera will be added to
VSS as follows:
If you need to make changes, you can open VSS's main window,
move your mouse on top of the camera live view,
then click the Edit icon in the popup toolbar. You can:
- Select a different source video stream;
- Bind the camera with a different camera license (if you ordered a subscription);
- Edit motion detection settings;
- Set recording schedules.
After a camera(s) is added, it will take about 1 minute for VSS to upload the first video or image.
However, you can view the live video (with audio) immediately from anywhere.
You can use the browser-based viewer by logging in to www.cameraftp.com
or download CameraFTP Viewer App for iOS, Android and Windows.
All viewers support live view and playback from anywhere. Moreover, they support video-calling to the camera.
Cannot get it to work? Please read our Trouble-shooting Guide.